When accuracy really counts, there is no alternative to PrismMaster®, the world´s most accurate prism angle measurement device with an accuracy of up to 0.25 arcseconds.
With its extensive configurations, the PrismMaster® series is ideal for versatile measurement requirements in optical workshops as well as entry and final inspection in production environments.
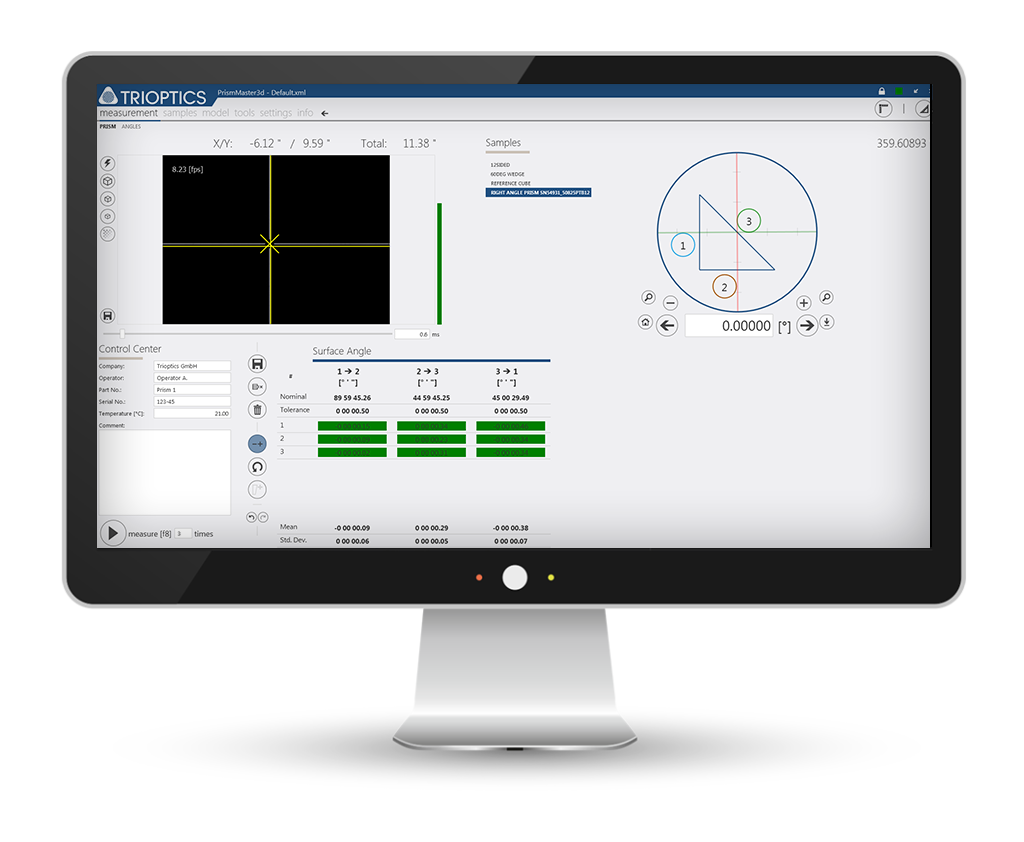
The PrismMaster® series impresses with extensive software functionality and simple operation. The function of the prism configurator simplifies the measurement of a large variety of samples. Further advantages are the Software-automated sample tilt compensation (emulated tilt table) as well as transmission measurements and refractive index calculations performed by the software

Outstanding absolute accuracy achieved in a single measurement
Measurement of a large variety of samples including microprisms with a minimum sample size of 1.5 mm²
Ultra-stable and accurate rotary air bearing
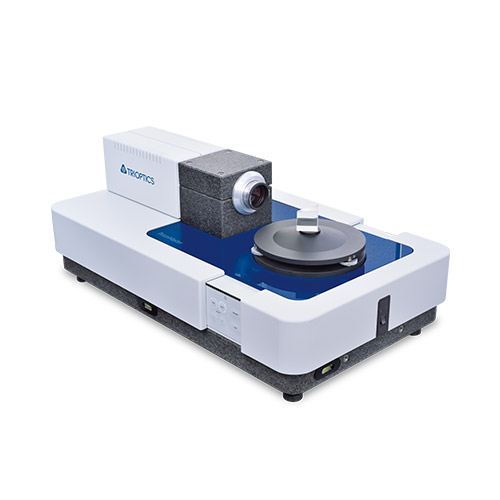
High accuracy of 0.5 arcseconds
Stable granite frame for all measuring parts
Measurement table in three different heights
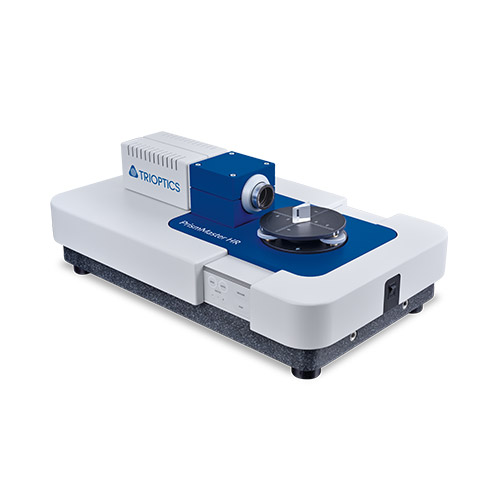
For a large variety of samples including microprisms with a minimum sample size of 1.0 mm²
Stable granite and steel frame for all measuring parts
Compact design with full system integration and single-cable connection
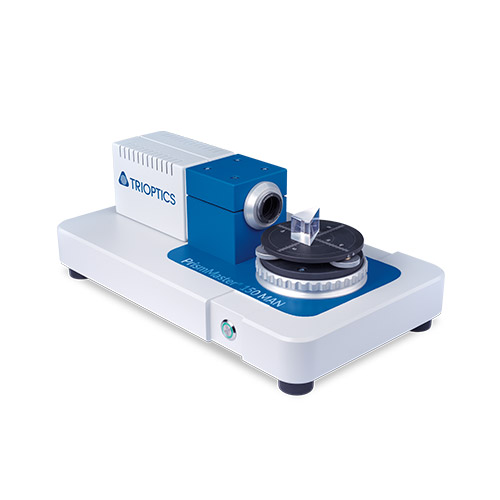
Angular measurements of prisms, polygons and wedges
Ideal for receipt and final inspection in production environments
Low installation requirements
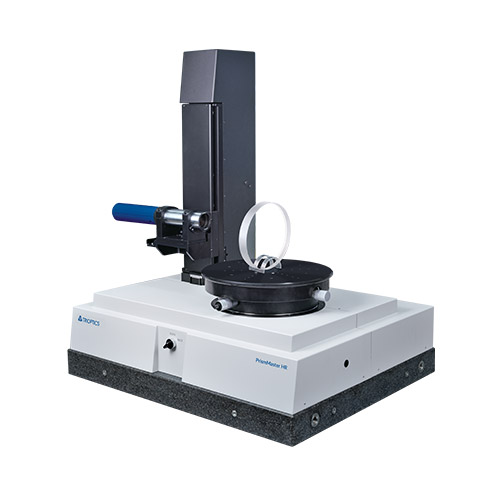
Measurement of a large variety of samples
Samples diameter of up to 420 mm
Motorized z-stage
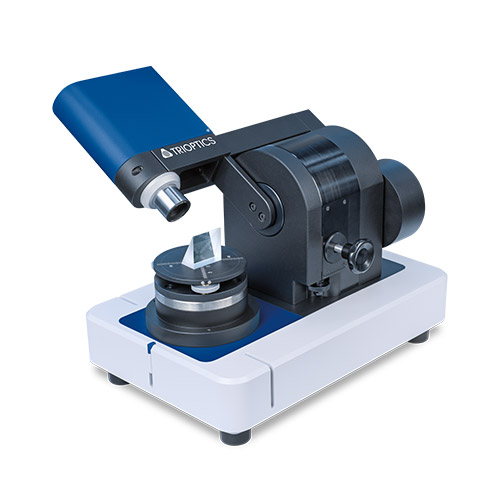
Fast and easy quality control of prisms and plano optics in optics manufacturing
Three configuration levels: PrismMaster® Flex, 1D and 2D
Measurement in reflection for outer prism angles and in transmission for deflection angles

Angle measurements of polygons, prisms and wedges
Surface tilt errors of prism and polygons
Wedge errors of optical windows
Angles of microprisms
Pyramidal errors
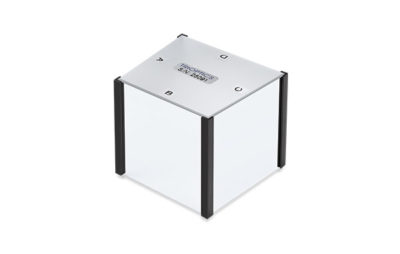
Angular gauge block
Prism Configurator for the easy definition of non-standard and compound prisms
Software-automated sample tilt compensation (emulated tilt table) for quick and precise measurement of prism angles and pyramidal errors without laborious adjustments
Input of tolerance ranges and pass/fail classifications
Evaluation, display and recording of the measurement results according to ISO
| Parameter | PrismMaster® 300 HR | PrismMaster® 300 | PrismMaster® 150 HR | PrismMaster® 150 MAN | PrismMaster® 300 HR MAX | PrismMaster® Comparison | PrismMaster® Flex |
| System accuracy | 0.25 arcsec | 0.5 arcsec | 1.0 arcsec | 1.2 arcsec | 0.4 arcsec | 1.5 arcsec | 1.5 arcsec1),2) |
| Tilt angle measurement |
on request | on request | on request | on request | 1.5 arcsec | ||
| Pyramidal error | 1 arcsec | 1 arcsec | 3 arcsec | 5 arcsec | 1 arcsec | ||
| Bearing of the sample table |
air bearing | air bearing | air bearing | ball bearing | air bearing | ball bearing | ball bearing |
| Rotation of the sample table |
automatic | automatic | automatic | manual | automatic | manual | manual |
| Max. sample size | dia. 225 mm | dia. 225 mm | dia. 120 mm | dia. 120 mm | dia. 420 mm | dia. 110 mm | dia. 120 mm |
| Max. sample weight | 10 kg | 10 kg | 3 kg | 10 kg | 50 kg | 5 kg | 2 kg |
| Dimensions (h x w x d) |
310 mm x 790 mm x 460 mm |
310 mm x 790 mm x 460 mm |
180 mm x 550 mm x 330 mm |
180 mm x 470 mm x 270 mm |
880 mm x 1,050 mm x 1,000 mm |
600 mm x 360 mm x 480 mm |
510 mm x 300 mm x 450 mm |
| Autocollimator focal length |
300 | 300 | 150 | 150 | 300 | 300/150 | 150 |
| Autocollimator aperture |
45 | 45 | 32 | 32 | 45 | 45/32 | 32 |
| Electronic autocollimator |
EFL 300 mm, Diameter 57 mm |
EFL 300 mm, Diameter 57 mm |
EFL 150 mm, Diameter 38 mm |
EFL 150 mm, Diameter 38 mm |
EFL 300 mm, Diameter 57 mm |
EFL 300 mm/ 150mm Diameter 57mm/ 38mm |
EFL 150 mm, Diameter 38 mm |
| Weight | 109 kg | 109 kg | 40 kg | 19 kg | 350 kg | 50 kg | 35 kg |
| Type | Table top device | Table top device | Table top device | Table top device | Table top device | Table top device | Table top device |
1) 2.5 arcsec with PrismMaster® Flex 1D
2) 5 arcsec with PrismMaster® Flex 2D
Are you interested in the subject of angle measurement? Go to the Knowledge Base of the OptiTest®.
Go to